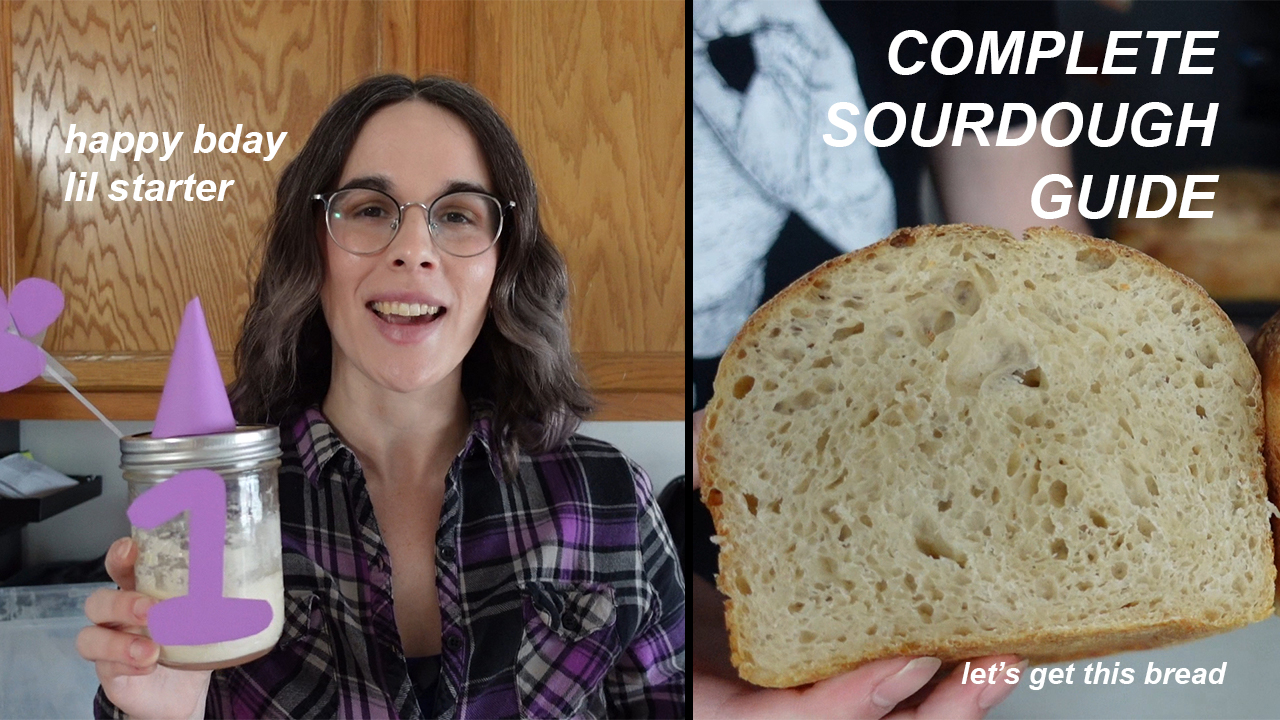
My sourdough starter turned a year old this month, and I could think of no better way to celebrate than to share what’s become my go-to bread recipe on our channel! While it takes multiple days, the hands-on work time is pretty limited and you end up with a loaf that while not the most beautiful it is super tasty. I make this recipe every few weeks to freeze and store and it also makes a real nice gift for friends or family!
Day 1: Preparing Your Starter
So this whole recipe assumes you already have access to a sourdough starter. I may go over how to make your own at a later time.
Optional: pre-feed your starter. If it’s been a few weeks since you last fed your starter, pre-feed it by combining half an ounce of the starter with 1 ounce each of water and flour. Mix that and leave it sitting on a counter until you mix up the starter needed for your recipe that evening.
- Take 20 grams of your starter and place it in a quart-sized mason jar or similarly sized container.
- Add 95 grams of room temperature tap water and thoroughly stir until the starter is dispersed in the liquid.
- Add 95 grams of flour (any kind is fine, though some will produce more aggressive starter) and mix thoroughly.
- Place a lid or other cover on the container and leave it out to rise. If your home is chilly, place it somewhere warm such as near a refrigerator or in an over with the oven light on. Be wary of placing it anywhere too warm, or the starter can overflow out of the container.
- The starter will be ready to use the next morning – if not using immediately upon waking, keep an eye on the starter so it doesn’t go past its peak rise.
Day 2: Making The Dough
- Combine 925 grams of all-purpose flour, 75 grams of whole wheat flour and 700 grams of room temperature tap water.
- Mix thoroughly until no dry spots of flour remain and a shaggy dough has formed.
- Cover the dough and leave to sit on the counter for 3 hours for the flour to fully hydrate and the dough to relax.
- After 3 hours, add in the starter (prepared the day before) and pinch and fold it in until fully combined.
- Cover the dough again and let rest for 30 minutes.
- Add in 20 grams of salt and 50 grams of water and pinch and fold into the dough the same way as the starter. Continue kneading for 5-10 minutes.
- Transfer the dough to an oiled container, then cover and let rest for 30 minutes. Make note of the time you first set the dough aside. If temperatures are cool, place into an oven with the oven light on.
- Uncover the dough and apply oil to your hands. Use a hand on each side to scoop underneath and lift the dough from the middle, stretching it and gently folding it back and forth into the container. Rotate the container clockwise and repeat this process again. Replace the cover on the container and repeat this process every 30 minutes until the dough has fully proofed, approximately 3-4 hours. If dough hasn’t risen enough in the time, allow an extra hour of rise time without and stretching and folding.
- Oil a pair of 9×5 loaf pans and set them near your work surface.
- Once the dough has fully proofed, gently transfer it to a clean work surface. Allow the dough to spill out of the container using its own weight and helping it as necessary, don’t try to scrape it out.
- Using a bench scraper, cut the dough into two equal portions. Shape the loaves and place them into the prepared loaf pans.
- Cover the pans and place them in the fridge over night.
Day 3: Baking
You have some wiggle room in how long you leave your dough in the fridge, though I haven’t experimented with anything much longer than like 18 hours so you could be pushing it waiting any longer than that.
- Place two metal pans in the oven (I used cake pans) and fill one at least halfway with water.
- Preheat the oven to 450 degrees. After it reaches temperature, wait at least 15-20 minutes before putting the bread in.
- Once the oven is almost ready, remove the dough from the fridge and uncover the pans.
- Score each loaf, slicing deeply to assure it doesn’t seal back up.
- Add a few cups of ice to the empty pan in the preheated oven at the same time you place your loaves in.
- Reduce the temperature of the oven to 425 and bake for 25 minutes
- After 25 minutes, remove the two water pans from the oven and bake the loaves for an additional 10-15 minutes, or until the loaf is golden brown and a thermometer inserted into the center of the loaf reads 200 degrees.
- Once done, remove the pans from the oven and immediately transfer the bread loaves from their pans to a wire rack to cool completely.
- Once cooled, slice and enjoy. Sliced bread should be eaten the same day or frozen, and uncut loaves will last a few days, though will likely need to be heated up and really are best enjoyed fresh.
Bonus: Freezing & Reheating
- Slice your cooled bread into pieces to your desired thickness.
- Place the slices flat on a pan, tray or plate and freeze for 15-20 minutes.
- Transfer the frozen bread slices to a freezer-safe bag or container and reheat as needed.
- Reheat the bread slices at 350 degrees for 10 minutes until warmed through but not quite toasted.
Affiliate Links:
We may earn a commission from purchases made using these links.
- Proofing Container: https://amzn.to/3ehnU6g
- Loaf Pans: https://amzn.to/3tDSVYu
- Bread Lame (used for scoring): https://amzn.to/3tBbT29
- Whiteboard Magnets (used for tracking proofing): https://amzn.to/3gqAcMl


