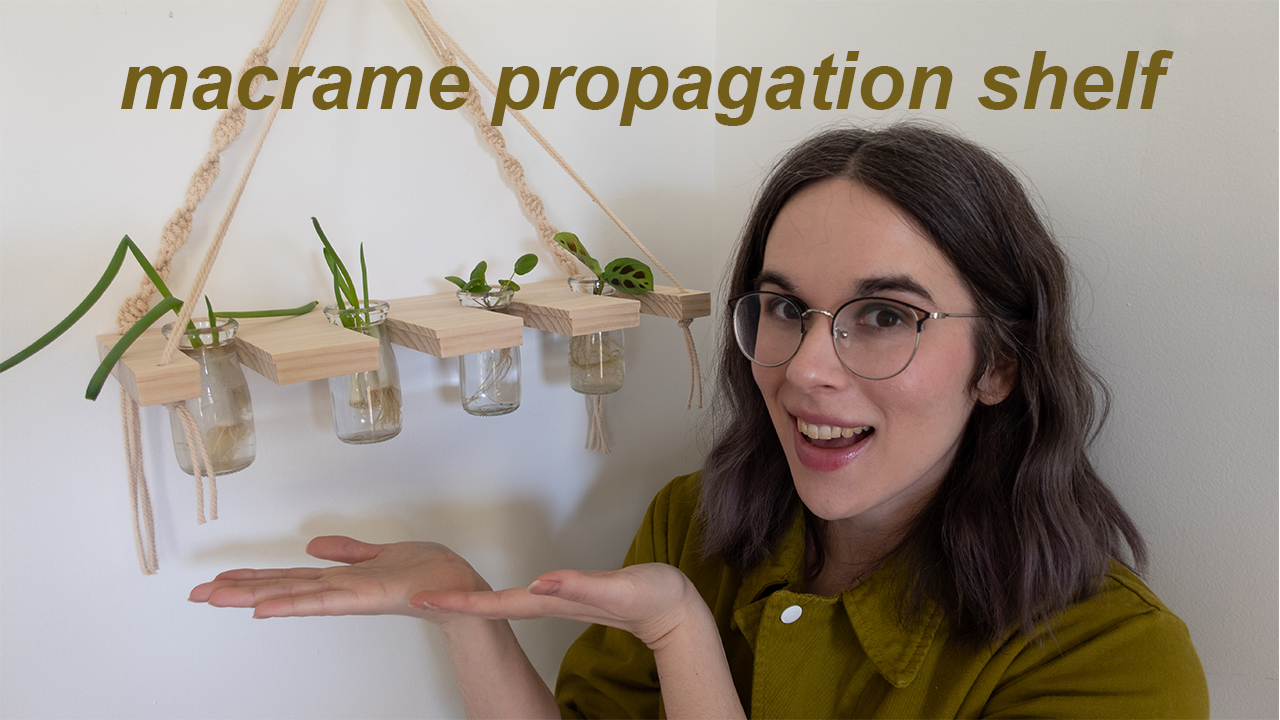
It’s been a minute since I’ve done any macrame stuff! I’ve been wanting to put some more plants in the house, but a plant-hungry cat means we can’t keep anything on the tables or counters so I had to whip something up to keep these tempting greens out of the cat’s reach. This combination macrame shelf and propagation station was the perfect solution! We used the CNC machine to cut out our board, but you can totally whip something up much more simply using regular old power tools!
Macrame Playlist: https://youtube.com/playlist?list=PLHjPxEWSar2QQPChavjVV5dQFXW2WMe_5
Materials:
6 strands of 3mm cord, approximately the length of twice your arm-span
A ring or dowel to attach cords to
A board (Mine is 16 in x 8 in)
Glasses or jars to sit in the board
Optional: tape, wood stain or paint
Affiliate Links: we may earn a commission from any purchases made
Cord: https://amzn.to/3flJhDJ
Rings: https://amzn.to/3uvUkQS
Jars: https://amzn.to/36WYI1b
- Prior to starting the project you’ll need to cut four holes – one on each corner of the board – for your cord to thread through. The holes on the back of the board should be slightly larger than those in the front to accommodate the additional cords. You will also need to cut holes to hold whatever glasses or jars you will have as part of your shelf. If you wish to stain or paint your board, you should do that now as well.
- Take each of your six strings and fold them in half, then attach to the ring using a lark’s head knot.
- Grab the four left-most cords on the ring, leave a gap of a few inches at the top and begin creating a spiral knot using half square knots. I tied 35 knots to reach my desired length, but you can customize that as you’d like. Repeat this process for the 4 right-most cords as well, changing the direction of the spiral.
- Thread each set through one of the back holes on the board and tie loosely underneath the board – you’ll want to be able to untie and adjust the board once hanging.
- Thread the leftover cords through the two front holes, two cords to each spot.
- With the shelf hanging, tie knots underneath the front of each side of the board so the shelf hangs level, adjust the back knots as necessary as well.
- Trim the excess cord to your desired length, leaving some length to adjust as necessary.
- You’re done! Add your containers, water and plants and you’ve got yourself a cute lil propagation shelf.


